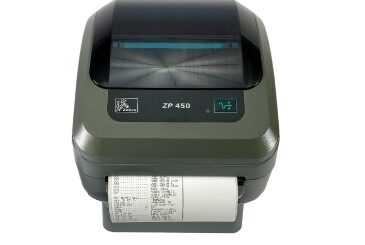
Zebra ZP450/ZT230/ZT410/S4M Driver Full Installations
How to install the driver for Zebra ZP450 Printer on Windows Computer using UPS printer driver. here are some easy steps to install the ZP450 driver and it applies to Windows 11, Windows 10, and Windows 7.
How to install the Zebra ZP45 Printer Driver
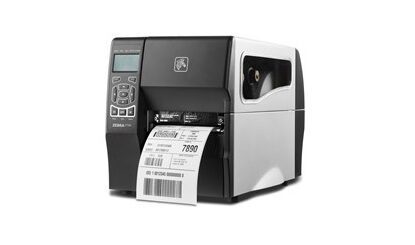
This method also applies to the Zebra series:
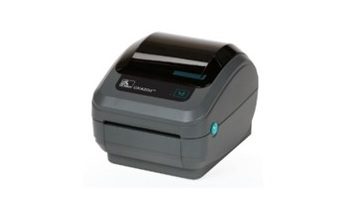
The Zebra ZP450 is a UPS specialty printer designed for use with the UPS WorldShip application. You can download the ZP450 driver for Windows below. The ZP450 printer works with UPS WorldShip V8.0 and a higher driver installed, with USB and Serial connectivity.
Plug and Play (PnP) usually works with a Zebra ZP450 printer connected to a PC via USB. Once the USB is connected, Windows will detect the ZP450 driver automatically and add it to the list of printers. If PnP doesn’t work, you can follow the steps on how to install the ZP450 driver.
Download and Extract Driver Installer
1. Select the Zebra UPS Thermal Printer Driver driver file and Download your UPS Thermal Driver.
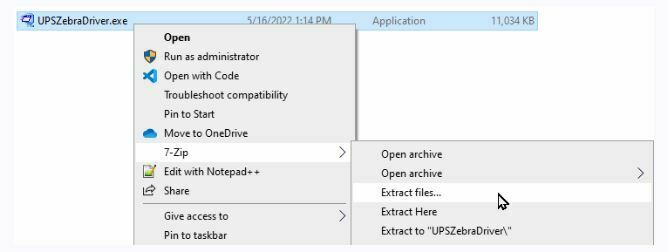
2. Next Extract UPS ZebraDriver.exe. There are two alternatives to extracting the zebra driver:
- First, Right Click UPS ZebraDriver.exe file and select 7-zip to extract the files to your chosen location.
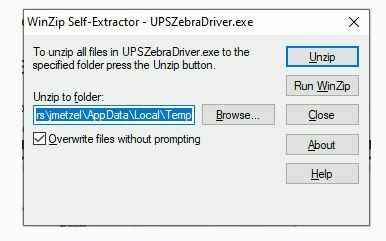
- Or, double-click the UPS ZebraDriver.exe that you downloaded earlier. file to launch WinZip Self-Extractor. Click Browse to change the path to the location where you want to save and be able to find the extracted files. and Click the Unzip button.
3. Once the driver files are unzipped, navigate to the directory where the files were extracted and look for the folder starting with UPS.
4. Open the UPS folder and look for Setup.exe. Double-click to run the installation driver file.
Driver Pre-Installation for Zebra Printers
1. Follow Steps 1 – 4 above to Download and Extract Driver Installer.
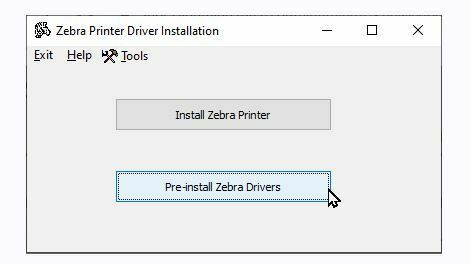
2. Next – Run setup.exe and select Pre-install Zebra Drivers.
3. Reboot your computer/desktop.
4. After the computer restarts, you can plug in your printer’s USB cable and turn on the printer again.
Installing Specific Drivers For Zebra Printers
1. Follow Steps 1 – 4 above of Download and Extract Zebra Printer Driver Installer.
2. Make sure your printer is plugged into a power source and connected to your computer using a USB cable. The indicator light on your printer should stay green.
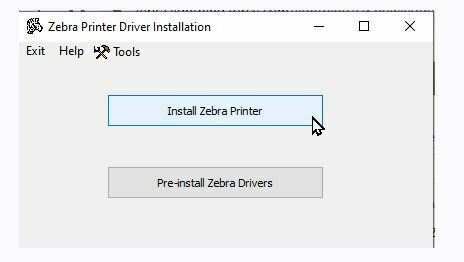
3. Run setup.exe and select Install Zebra Printer.
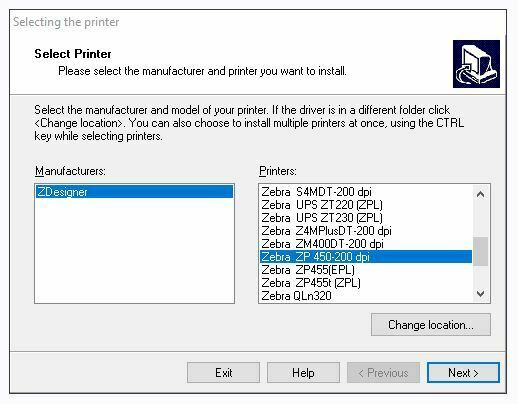
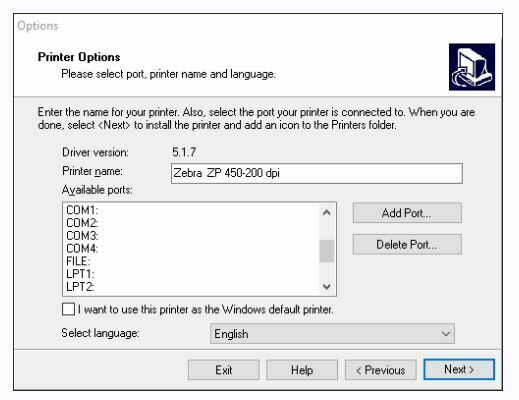
4. Select your Zebra printer model from the Printers list and click Next in the dialog screen.
5. On the dialog screen, you can see a list of available ports for Zebra. Scroll down and select an open USB port.
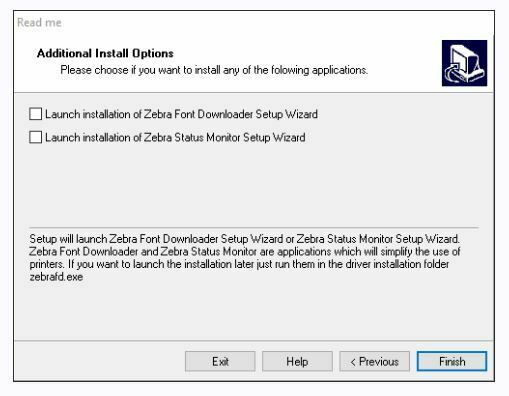
6. Next, you can uncheck the “Launch installation of Zebra Font Downloader Setup Wizard” and “Launch installation of Zebra Status Monitor Setup Wizard” options and click Finish.
7. Check again if the driver is installed. Go to Control Panel>Devices and Printers or Printers and Scanners. Printer driver installation was successful for the zebra printer if it sees that there are drivers installed for the printer.
Resolving the “Unspecified Driver” Error in the Zebra driver.
If you see the Driver Not Specified error after performing the installation steps for the Zebra ZP450 driver, reinstall USB Printing Support and restart your computer.
- Go to Control Panel > Device Manager. Scroll down and look for Universal Serial Bus controllers.
- Click the drop-down arrow and look for USB Printing Support.
- next, Right click on USB Printing Support and select Uninstall device.
- Finally, click Action (on the menu bar) > Scan for hardware changes and you’re done.