Canon TS5000 Printer Driver Free Downloads
Free download Canon TS5000 printer driver Windows 11, 10, 7 32/64-bit, and Mac OS. Install compatible drivers to optimally take advantage of all the functions embedded in the printer.
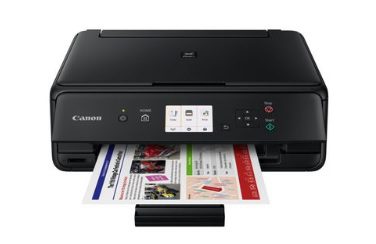
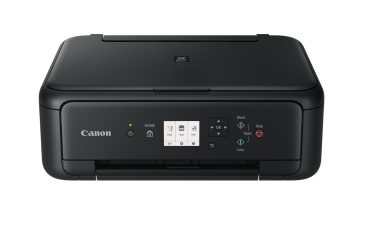
The PIXMA TS5000 printer is the latest product from Canon with print, scan and copy document features. This printer is present as a complement to the previous Canon output generation.
PIXMA TS5000 comes with speeds of up to 10 ipm for black and 5.0 ipm for colors other than black. As for the scanner itself, the newest one comes with a resolution of up to 600 x 1200 dpi and can copy up to A4 size.
So you need to download the full version of the Canon TS5000 driver first so that printer functions in general can run as they should. Without a printer driver, the printer will not function optimally.

Canon TS5000 Printer Driver Windows
TS5000 printer driver Windows 11 [32/64-bit] – DOWNLOAD
TS5000 printer driver Windows 10 [32/64-bit] – DOWNLOAD
TS5000 printer driver Windows 7 [32/64-bit] – DOWNLOAD
You might also need:
Canon TS5000 Scanner driver Windows and Mac OS
Canon TS5000 Printer Driver Mac
TS5000 printer driver for Mac OS 13 Ventura – DOWNLOAD
TS5000 printer driver for Mac OS 12 Monterey – DOWNLOAD
TS5000 printer driver for Mac OS 11 Big Sur – DOWNLOAD
Canon TS5000 Printer Driver Download and Installation Procedure
- Download the Canon TS5000 driver file. For the location where the files are saved, check the computer settings.
- Double-click the downloaded EXE file to decompress it, then the Canon TS5000 driver installation will start automatically.
Uninstall Procedure If needed, you can uninstall this program using the Control Panel
Note: Below steps are for Windows 7 Windows 11 and Windows 10. This procedure may be different for other OS.
- On the Start menu, click Control Panel, then, under Programs, click Uninstall a Program.
- A page will open with a list of installed programs. Double-click on the program you want to remove.
- Click “Yes” then “OK”, this will complete the uninstallation process.